At the beginning of this year – 2020 – I decided to focus my life more on the things that I love and enjoy doing – writing, photography and art – without losing oversight of the things that I need to do or want to achieve in my everyday life. Hence my first bullet journal – in short bujo – attempt.
The popularity of bujo lies in the fact that it is a mix of a diary and calendar, that keeps track of what you need to do and when you need to do it in a creative and personalized way. For me, to sit down a few days a month to design the next monthly spread is very relaxing -almost therapeutical – and a liberation for my creativity.
I must admit I had a hard time getting started, it certainly isn’t as easy as it appears on YouTube or Pinterest where amazing pages just flow out of the artists pen. In fact it takes a few months to understand which monthly lay-out suits your life-style and how you would like to embellish it. It took me roughly three months to understand which functions I wanted my monthly spreads to have and how I would like to see them presented leveling my artistic needs with the spreads functionality.
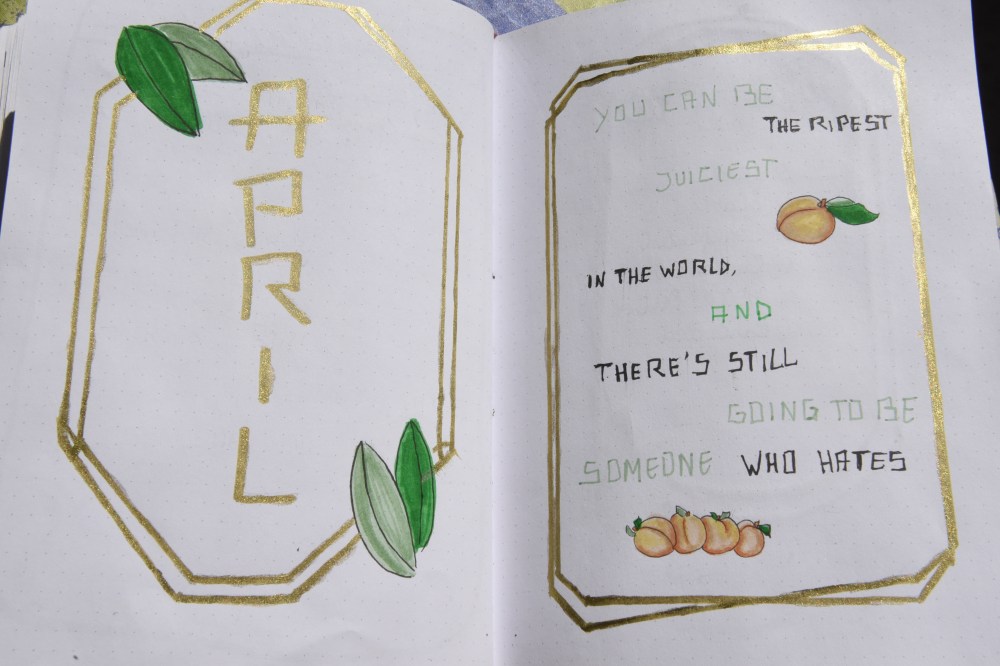
There are those wo like a sole functional approach and those – like me – who love art and want to cover every inch of their bujo with it. This is the biggest advantage of bujo; it is your personal schedule in your own personal style.
There are a lot of factors that you have to consider before setting a single stroke on the paper; what you want to put into your yearly spread, the theme, functionality , page design ( lay-out), quotes, space for note taking and the amount of decoration you want to add. These are the things you want to predetermine, these plans don’t need to be set in stone yet or be super detailed but having a sense of what goes where and how you would like to approach it can save you a lot of trouble later.
Of course there is no need for panic when you have no clue on what to do or how to get started, there are so many people – including me – out there on YouTube, Pinterest, Instagram, etc.. sharing their beautiful pages, even demonstrating – step by step – how to copy their spreads into your own bullet journal.
As for the major mistakes I made:
* First off, I simply didn’t plan out anything, didn’t have the faintest idea of what I wanted my bullet journal to hold in functionality nor what I wanted or needed to put in my yearly spread. That was kind of important as now lots of things I want to track annually end up in my monthly spreads and I have to remember to look those trackers up in those months – which is slightly unpractical – or copy those spreads each month leaving less pages for the months to come – in my case rendering me out of pages quickly.
The solution here is predetermination, think of the things that you could need throughout the year things such as yearly goals, yearly trackers (e.g. books read), year calendar to mark special dates or appointments made far beyond the current month.

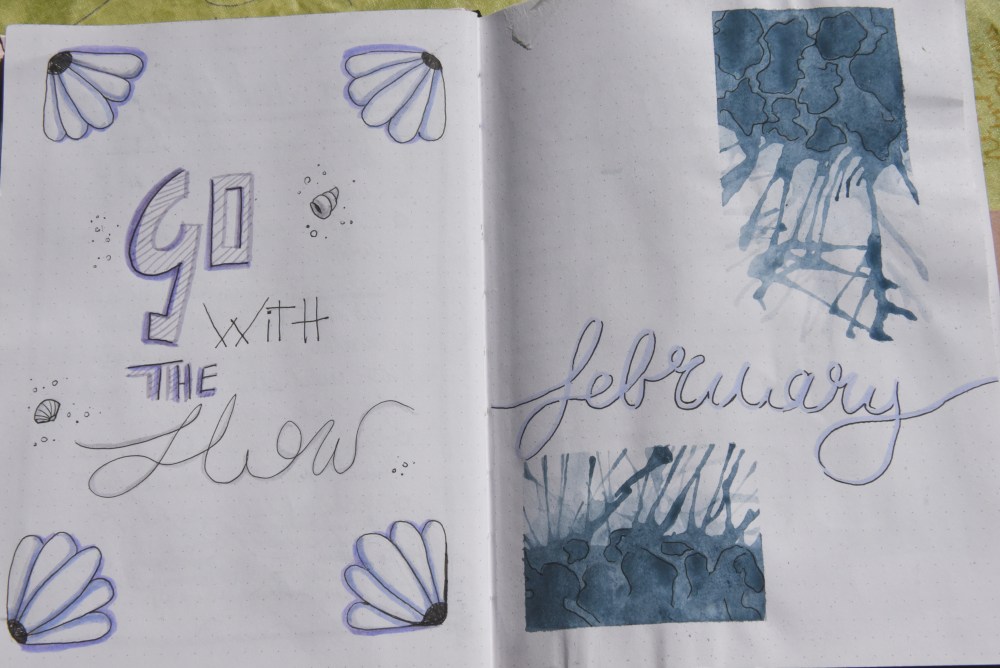
* Secondly I thought I had set a theme but then it sprung on me halfway through that I had drifted from the theme quickly leaving my annual and January spread incohesive and a bit sloppy.
For this the solution is so simple I felt silly not thinking of it from the get go especially since this helps with setting up your bujo so much quicker. Start looking for ideas in advance so that you are sure to stick with the theme that you set throughout the entire month. Make some doodle studies, preselect the colours you would want to work with within your theme, look up befitting quotes and maybe watch some videos on YouTube or browse Pinterest or Google for ideas.
* The third one is intertwined with the second one and is basically not knowing what I want to do next, which spread to make, use or what to draw.
I learned that the best solution for this – at least when you are a beginner – is to first pencil out the lay-out and structure of the chosen theme before using any permanent media on the paper that way when you let’s say think of another spread you can easily erase the previous page and put that one down instead, carefully planning out where you have space for a painting or doodle. This is also good to preview how two pages will look next to one another before putting the permanent layer down.

* Last but not least I didn’t check the paper quality and therefore didn’t know what kind of media I could use in my bujo. My bujo is made of a generic type of notebook paper which is fine if you aren’t planning on doing heavy medium art however I love art and making paintings – especially with watercolour – and for this the paper just isn’t sufficient.
When leaning towards the artistic kind of bujo make sure your paper can withstand the media you use, either through watching notebook reviews on YouTube or by checking out what kind of paper they are made of in the store. If you did buy a bujo that doesn’t comply with your choice of media there is nothing to fear; you can make your art on separate paper made specific for that media, cut it out and glue it into your bujo. Although this method could be a bit of a nuisance and will definitely make your bujo bulge, it is most certainly worth it.
So in the end the success of making a functional bullet journal lies in whether or not you have a notion of which content you want your bujo to have, a lay-out plan (monthly as well as yearly) and the abilities of the paper you work with. Artist or not, without a predefined vision your bullet journal could end up chaotic and inefficient.
